The InspectionXpert Template Editor has a Footer Row function that will automatically expand or truncate the rows in your report to match the number of characteristic values you are exporting. This helps make your reports look more professional and saves you time by not having to format additional rows or delete rows after exporting. Any rows in the Report Template that are on or after the Footer Row will appear at the bottom of your report or on the last page of your report.
To use the IX Footer Row:
1. Open your report template with the InspectionXpert Template Editor.
2. Choose the row that you want to immediately appear after all exported characteristics. For example, if you want to have a signature block or additional fields appear on the last page of your report you would click on the first row of fields that will be in your footer and highlight the entire row by clicking on the number of the row in your Excel interface.
3. Click the Formulas tab in Excel and click on Define Name.

4. Enter "IXFooterRow" exactly as it appears here with the upper and lower case letters and no spaces, and enter three numbers after that (e.g. "001") and click OK. The three numbers allow you to enter the Footer Row function on multiple sheets in your Excel Report Template, by simply changing the number. (See the example at the bottom of this topic to see how the Footer Row was added to multiple sheets in the report by using the same command with a different number.)
5. When you are finished entering your Footer Rows and have completed any other formatting in your Report Template, click Finished in the InspectionXpert Template Editor window, and save your report template.

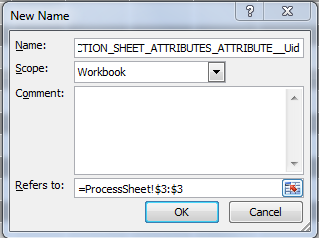
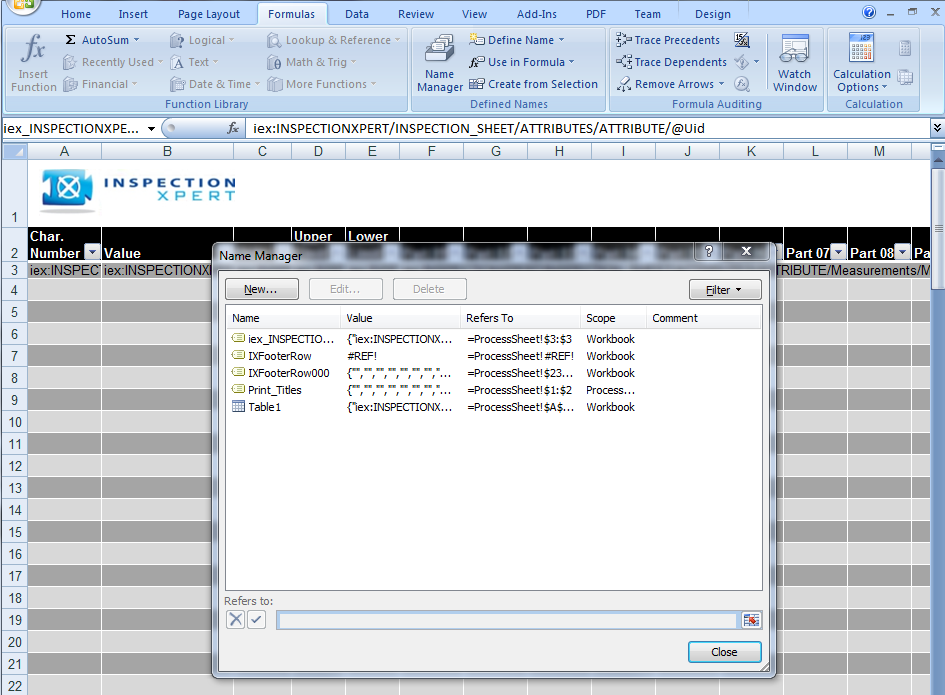
The Report Template showing the highlighted Footer Row & the Excel Name Manager showing the name of the Footer Row