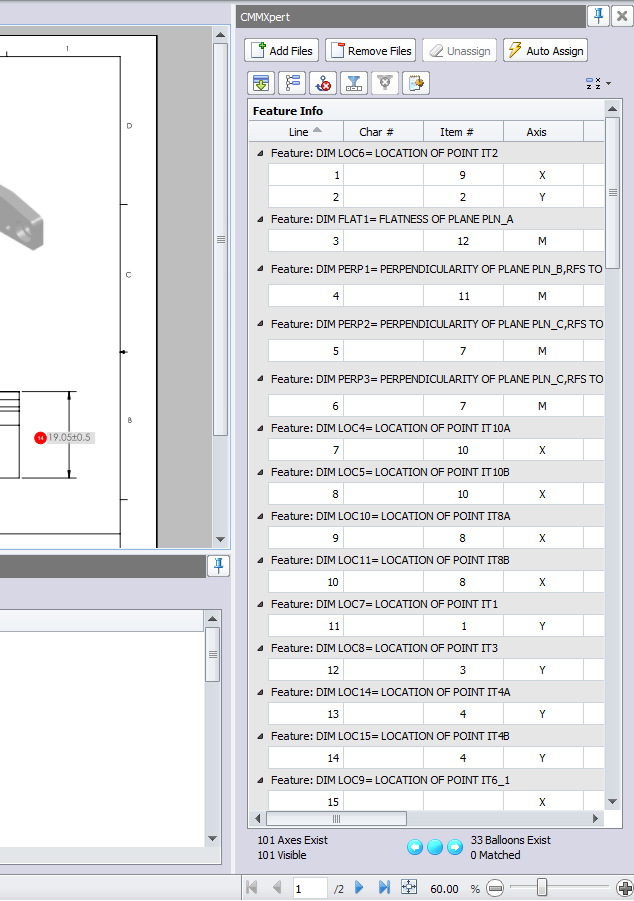
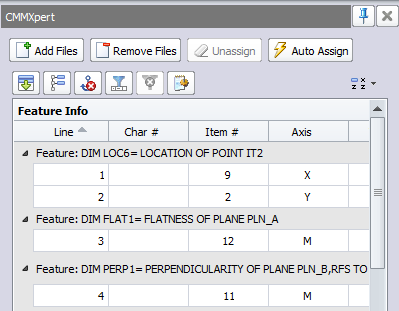
Once a CMMXpert file has been imported into a file, auto-assign looks at a balloon number in the item column and lines up the balloon numbers in the Inspection file. The comparison is displayed on the file file, in the CMMXpert window, and in MeasurementXpert table. MeasurementXpert and the file will indicate using selected color coding if the measurements are in or out of tolerance. Auto-assign will only work if there is an item number in the Item column of the CMMXpert window. The item numbers can be found and assigned to a row in the CMMXpert window.
The data in the CMMXpert window can also be:
•filtered,
•anchor or float specification columns
•searched,
•and cleared.
To auto-assign the CMM values to the file balloons:
1.Click the Auto-Assign button in the CMMXpert window, which opens the Filter By checkbox allowing you to choose what and how the data is assigned.
2.Click the ![]() , which highlights the balloons and enter values in the MeasurementXpert table.
, which highlights the balloons and enter values in the MeasurementXpert table.
It is recommended that you automate your CMMXpert Data Import. More information can be found on how to insure your data can be imported with the correct item numbers in the Automating CMM Data Import section.
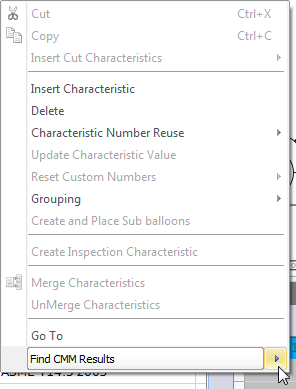
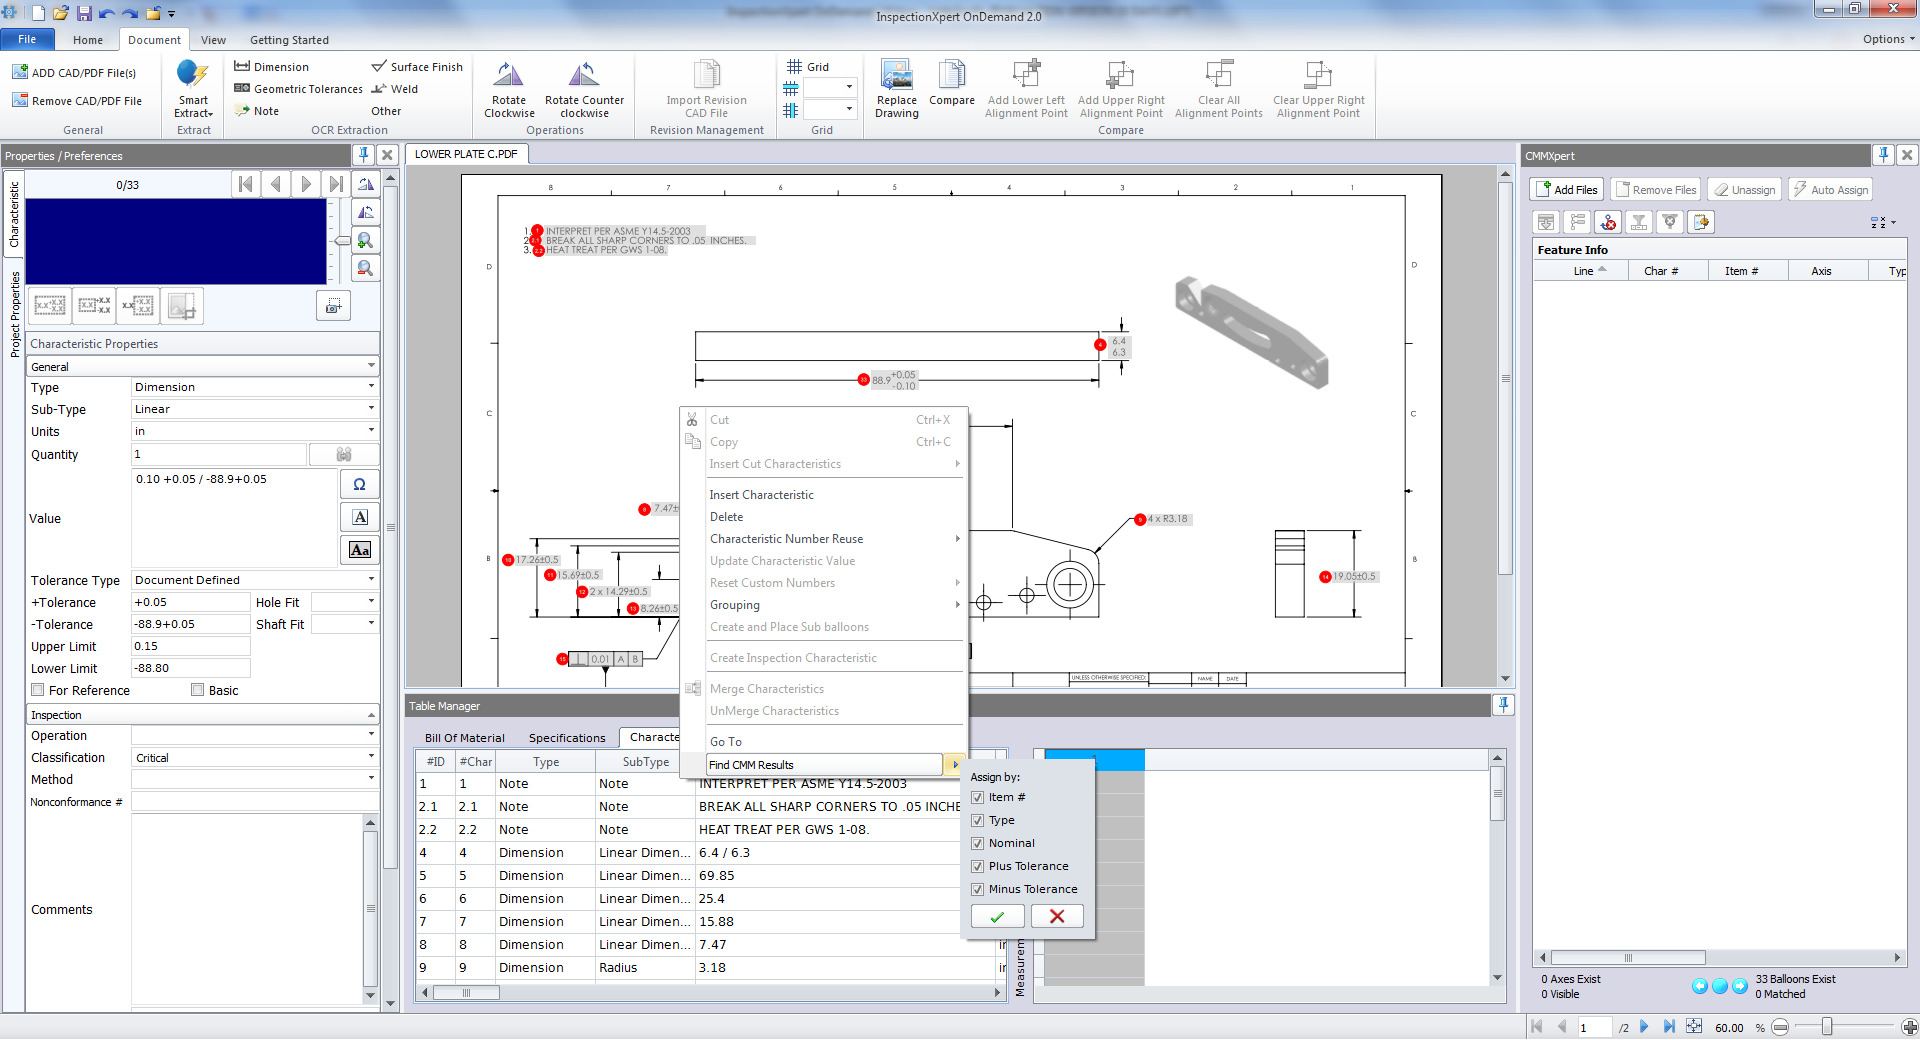
1.If there is not an Item number in the column, you can right-click on a row in the Bill of Materials tab in the Characteristic Table and then click on Find CCM results, which uses your default filter settings continue to step 2 to filter with new filter settings.
2.NOTE: IF you want to change your CMM filter options, do not click Find CCM Results, instead click on the arrow next to Find CMM Results, which opens the filter window.
3.Click in the Filter By checkboxes to select the options on which to filter the results and then click the ![]() to filter the results.
to filter the results.
4.Right-click on the value that is displayed in the CMMXpert window and then click Assign results to the selected characteristics, which puts an row with values or words in MeasurementsXpert.
5.Click on the MeasurementXpert row down-arrow, which opens a Value dialog box.
6.Click the ![]() button, which adds a row in the Value dialog box.
button, which adds a row in the Value dialog box.
7.Type the Value down-arrow in the new row and then click a value in the list.


1.Click the ![]() to displays a filter column in the CMMXpert window.
to displays a filter column in the CMMXpert window.
2.Type a value in one of the filter rows, which narrows the information in the CMMXpert window.
3.Remove the value to show all the results again.
4.Click the ![]() button again to remove the filter line.
button again to remove the filter line.

To expand/collapse in the CMMXpert window:
1.Click the ![]() button to expand or collapse feature groups.
button to expand or collapse feature groups.
2.Clicking the expand/collapse button twice collapses the data two levels.
3.Clicking the expand/collapse button three times expands the data.
To show/hide feature groups in the CMMXpert window:
1.Click the ![]() button to hide the feature groups.
button to hide the feature groups.
2.Click the ![]() button again to show the feature groups.
button again to show the feature groups.
To anchor or float specification columns in the CMMXpert window:
1.Click the ![]() button to anchor the specification columns, which allows you to use the horizontal scroll bar to view the file section in the CMMXpert window.
button to anchor the specification columns, which allows you to use the horizontal scroll bar to view the file section in the CMMXpert window.
2.Click the ![]() button to float the specification columns, which allows you to use the horizontal scroll bar to scroll through all the columns in the CMMXpert window.
button to float the specification columns, which allows you to use the horizontal scroll bar to scroll through all the columns in the CMMXpert window.
To search in the CMMXpert window:
1.Click the ![]() button to find results in the CMMXpert window.
button to find results in the CMMXpert window.
2.Click in the text box and type a value on which you wish to search.
3.Click Find to highlight one, some, or all of the search values in the window.
4.Click Clear to show all results.
.png)
To clear all data in the CMMXpert window:
1.Click the Clear button in the window, which displays a message box asking if you are sure you wish to remove all the assignments.
2.Click Yes to remove all assignments and data from the file.
3.Click Load to add a new CMM template/results to the file.